April 2, 2025
Are you a bride trying to figure out this whole wedding planning thing for the first time? Or a photographer trying to help your client create a solid photography timeline for their big day?
I got you. Below are the 10 steps I follow to help my clients create their wedding photography timeline! Typically, we work through this together one month before the big day because so much will change over the course of wedding planning!
If you’re a bride trying to figure out how much time to give for the photos that you want, I hope this helps you! Just expect this to be flexible as all your plans come together. And, of course, your photographer will know best how much time they prefer to have for each segment of the day 😉
Alright, disclaimers aside—let’s jump in.
1. Start with your ceremony and reception start times.
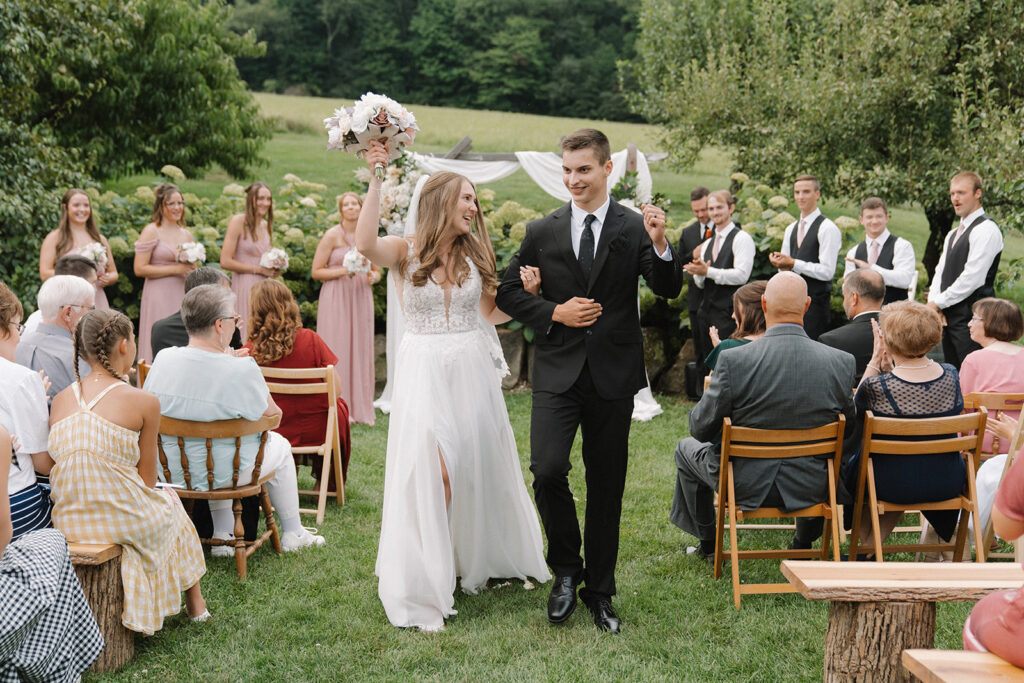
Consider your ceremony and reception start times the two major anchors of your day. Often by the time I’m working with a client on their timeline, these are the two times that can’t move since they’ve already been set in stone on invitations.
However, if you’re in the early stages, here’s some advice on setting your ceremony and reception times.
- A ceremony start time is traditionally set on the half hour (ex: 2:30pm, 4:30pm). I don’t know why, and I’m pretty sure there’s no such thing as bad luck if you set your start time for right on the hour, but that’s the “norm” if you care about such things lol
- PLEASE look up the time the sun sets on your wedding day! This matters for 2 reasons: 1) If your ceremony is outdoors, where the sun is at will greatly impact your photos (and the comfort of your guests!) Planning for as late in the afternoon as you can during the summer (like, 4:30 or 5:30pm) will give you the comfort of that pre-golden hour light and most likely won’t bake your guests or blind anyone. And 2) You want to double-check that the sun won’t set too early! Here in the midwest, in November and December, the sun sets as early as 3:30pm! You’ll want to make sure you have a few hours of light (whether your ceremony is indoor or outdoor) to take any portraits you have planned for after the ceremony.
- For your reception start time, I usually recommend giving at least an hour between the end time of your ceremony and the start time of your reception. If you choose not to do a first look (we’ll talk about that next!), you may even want to add 15-20 minutes more to have time for all the formal photos you’ll have between ceremony and reception. Is your reception in a different place than your ceremony? Add 15 minutes + travel time to this whole time slot (getting into cars takes a lot longer than you might think!)
2. Decide whether or not to do a first look.
This is your next big decision! Not sure whether a first look is right for you? I have another blog post to help you work through some questions with your partner to help you decide what’s best for your priorities! You can find that here.
Here’s how a first look impacts your timeline:
No First Look: This means that all photos where you and your partner are together will have to be saved for after the ceremony. This includes three “Portrait Sessions”—Family Photos, Full Bridal Party Photos, and Bride & Groom Portraits. My advice is to plan for bride & bridesmaid photos and groom & groomsmen photos for before the ceremony to get those all out of the way early! You could also plan a sweet “First Touch,” “Private Vows,” or exchange letters beforehand with your partner without seeing each other!
Bonus advice: I sometimes see couples who aren’t doing a first look wanting to get some of their separate family photos taken care of before the ceremony. Totally my opinion here, but this takes a lot more time than you think and doesn’t save time later. To find all the people, set up multiple times without bride or groom seeing each other, and then having those same people still around later for all the family portraits with bride and groom together… you’ll end up adding much more time to the overall timeline.
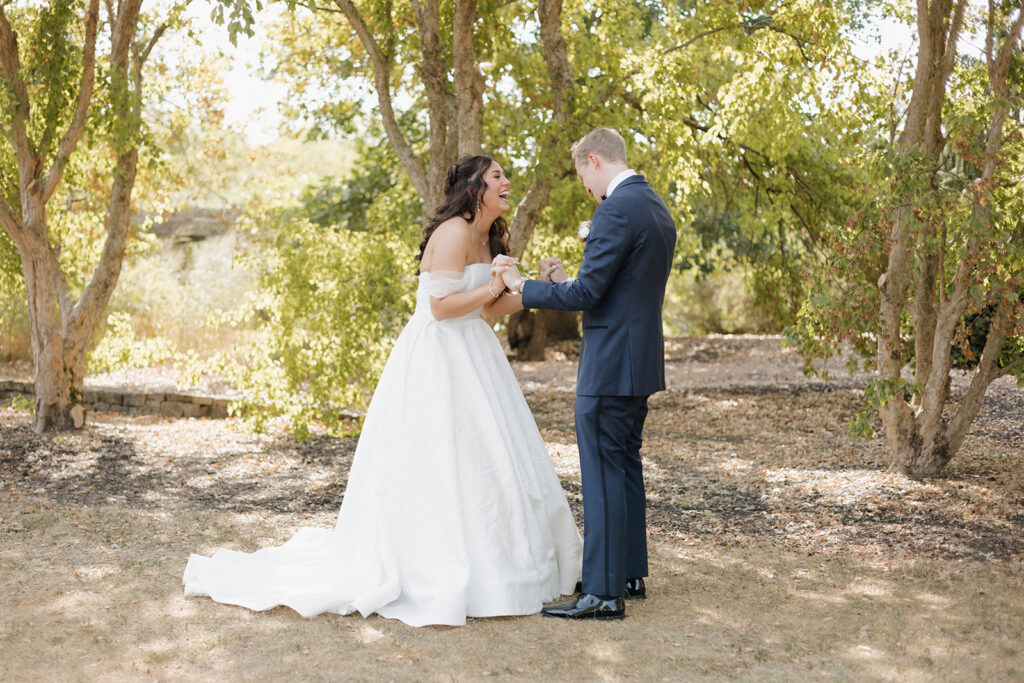
With a First Look: This means that you can get ALL of your formal portraits done before the ceremony! That way, after the ceremony, you have the rest of the night to enjoy your guests and party the night away! This means that we’re doing all these “Portrait Sessions” before the ceremony—Bride & Groom Portraits, Portraits of the Bride and Groom Separately, Bridal Party (full bridal party, bridesmaids separate, groomsmen separate), and Family Photos if we can!
Best case scenario is to have all those done before the ceremony! However, sometimes it makes most sense to have a few extended family giant group photos right after the ceremony since usually all those people don’t arrive early in the day. That’s okay! This still saves time since we can huddle up with a few big groups, and we got all the other family groupings done earlier.
If you did a first look, I would still recommend slotting in a mini “just married” portrait session before going off to enjoy cocktail hour (cuz that just married glow hits different 😉 ).
3. Start working backwards from your ceremony start time to schedule your pre-ceremony formal portraits.
Ok, once we have those first couple big decisions decided, it’s time to build the beginning of your day by working backwards from your ceremony start time. Here’s how I’d do that:
- Let’s say your ceremony start time is 4:30pm. Working backwards, the next segment of time you’ll add is a 30 minute “hideaway” time before the ceremony. This is so that your guests don’t see you when they start arriving!
- Next, start diving into the “formal portraits” that you plan on having before the ceremony. Give each of these each a solid 30 minutes (and a little more if you can for the Bride & Groom Portraits), plus account for any transition time (such as a change of photo location, keeping bride and groom from seeing each other, tracking down family members, etc.) If we’re working backwards with a first look, I might schedule these to look something like this:
- 4:30 – Ceremony Start Time
- 4:00 – Bride/Bridesmaids Hide Away (Photographer sets up for ceremony, takes candids of guests arriving)
- 3:30 – Family Photos
- 3:00 – Full Bridal Party
- 2:30 – Groomsmen / Groom Portraits
- 2:00 – Bridesmaids / Bride Portraits
- 1:15 – Bride & Groom Portraits
3. Schedule any “Pre-Ceremony Moments” that you’d like to include.
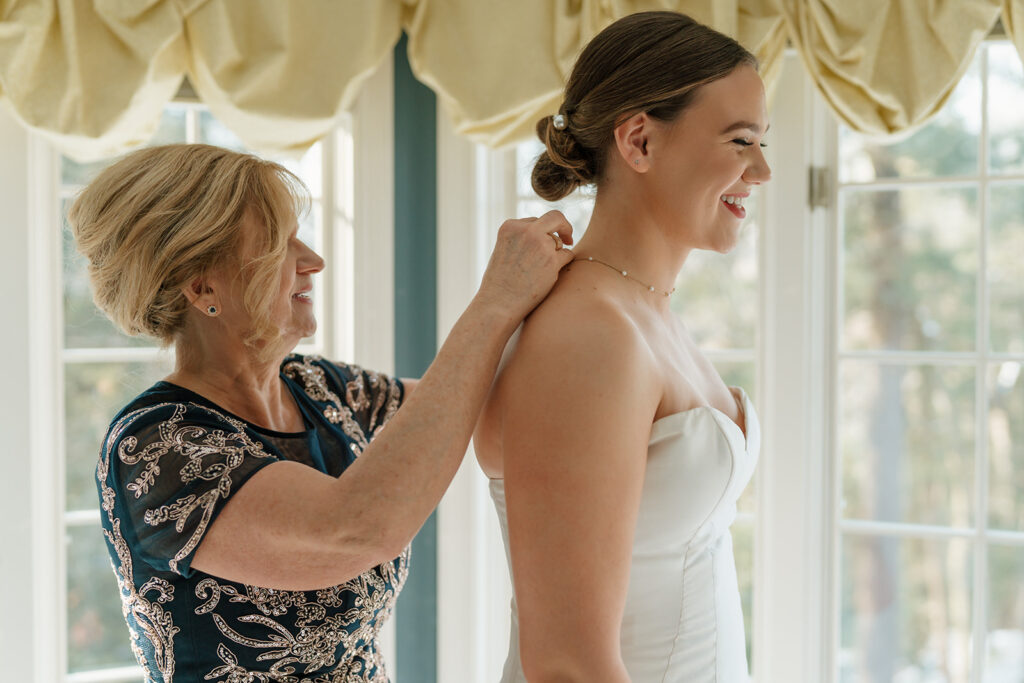
Now, we’re going to work on the timeline for what I like to call “Pre-Ceremony Moments.” These logistics are going to change a bit for everyone, depending on what moments you plan on including in your day. This portion of the day can include all kinds of things, but here’s a few intentional moments I’ve found to be most common: Mom helping the bride into her dress, first look with bridesmaids, first look with dad and/or brothers or grandparents, Mom of the groom pinning the groom’s boutonniere, bride & groom exchanging letters, bride and groom first touch, or first look. I would give each of these moments you choose to include at least 15 minutes to execute. Sometimes these take significantly less time than that, but just in case someone’s not ready on time or we’re having to run back and forth around the building to catch each of these things, the buffer time is great to have! Plus, if everything runs perfect, then we’ll feel ahead of schedule all day! Here’s how I’d continue working backwards to schedule these things in:
- 1:00 – Bride & Groom First Look
- 12:45 – Mother of the Groom pins boutonniere
- 12:30 – Bride & Father First Look
- 12:15 – Bride & Bridesmaid First Look
- 12:00 – Mother helps Bride into Dress
4. Schedule getting ready photos.
Next, we’ll move into scheduling the Getting Ready part of the day! This is another flexible time slot depending on what photos you prioritize here. Some of the more common moments I see included in this part of the day are: Portraits of the bride in her robe, all girls in robes/pjs, guys “Game Day” walking in photos, finishing touches on hair/makeup and girls hanging out, the guys hanging out. Give this time of the day lots of buffer time. If we’re running behind here, it sets the whole day off to a stressful start. Here’s how I would schedule this time.
- 11:30 – Bride/Bridesmaids in Robes/PJs
- 11:00 – Girls hanging out, finishing touches (second shooter gets photos of guys hanging out)
- 10:45 – Groomsmen “Game Day” walk in photos
5. Schedule detail photos and photographer/videographer arrival time.
We’re nearly done with the beginning of the day! Next up, we’ll schedule time for detail photos, and we’ll finally nail down what our start time should be for our media team! For most weddings, 45 minutes to an hour is enough time for your photo/video team to capture details around your venue. If everything is set up and ready by this time, your photographer may be able to also get detail photos of your ceremony and reception spaces. If not, these might get covered by the second shooter whenever those spaces are ready to be photographed. Definitely talk to your planning crew to see what time everything will be photo ready so that we can plan to take photos before either of those spaces start filling with people. To finish out this first part of the timeline, I’d schedule it to look like this:
- 10:00 – Photo / Video Official Start Time: Detail Photos
- 9:45 – Photo / Video Teams Arrive
Congratulations! You’ve now planned out the hardest part of the wedding timeline! Next, we’ll move to the second half of the day (party time!), which is SO much easier and more flexible.
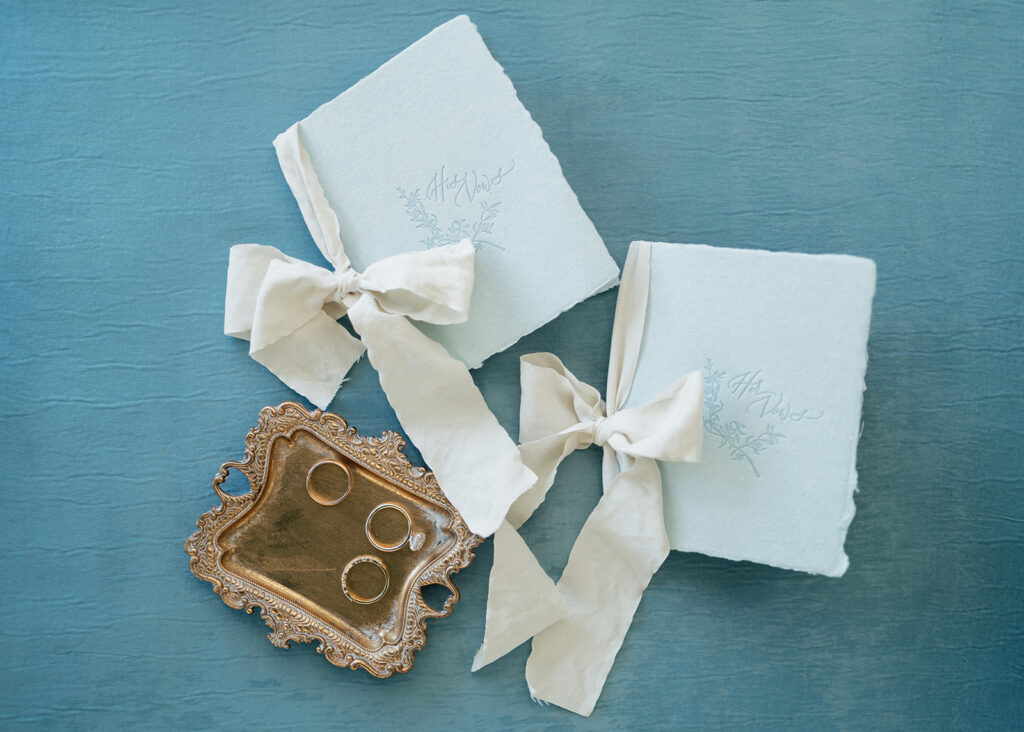
6. Start working forward from the ceremony end time.
Let’s plan that segment of time between the ceremony and reception first. As I mentioned before, this will include any “together” formal portraits if you choose not to do a first look and any travel time if your ceremony and reception are in different locations. Assuming we are doing a first look and ceremony/reception are at the same venue, here’s what I’d recommend for that time!
- 5:00 – Ceremony Ends
- 5:15 – “Just Married” romantic photos in full bridal attire
- 5:35 – Have a bridesmaid or bride’s mother help with bustling the dress and removing veil if needed
- 5:45 – Bride and Groom join Cocktail Hour
- 6:00 – Line up for grand entrance
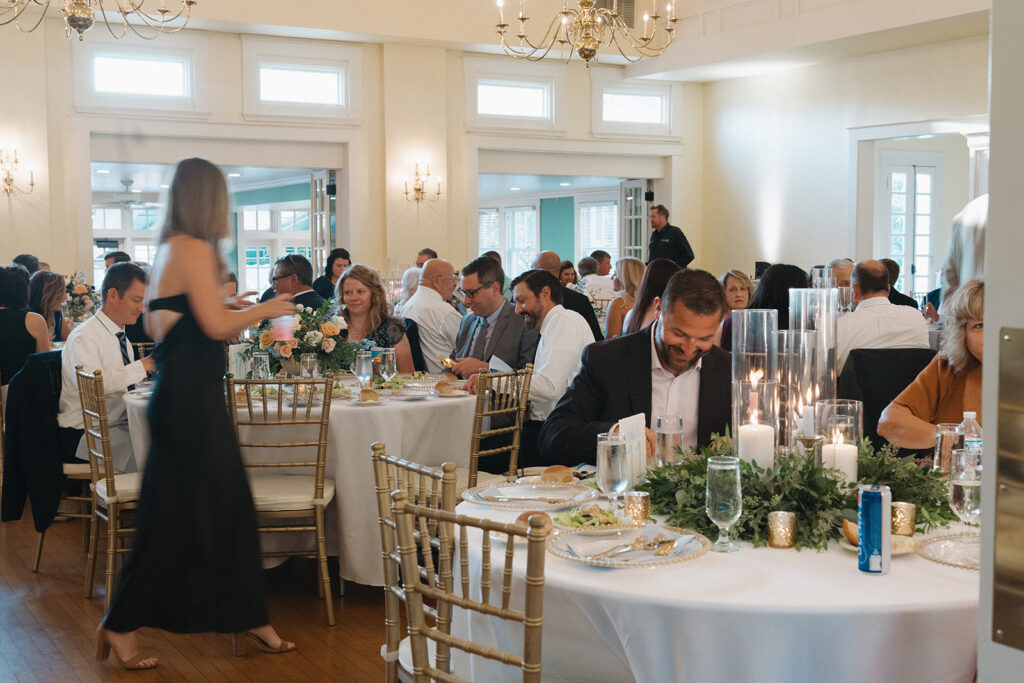
7. Plan the flow for your reception.
This is the part of the day that I don’t usually help schedule too much! Most of the time, your DJ will be carrying the role of making this part of the day run smoothly. Leading up to your wedding, between your planning team and DJ, they’ll help you put together this timeline to include all the “events” you’d like to see at your reception. I’ll just give you my personal favorite line-up 😉
- 6:15 – Bride & Groom First Dance
- 6:30 – Dinner is Served
- 7:00 – Speeches
- 7:15 – Cake Cutting
- 7:30 – Special Dances (Father-Daughter, Mother-Son, Anniversary Dance)
- 7:40 – PARTAYYY
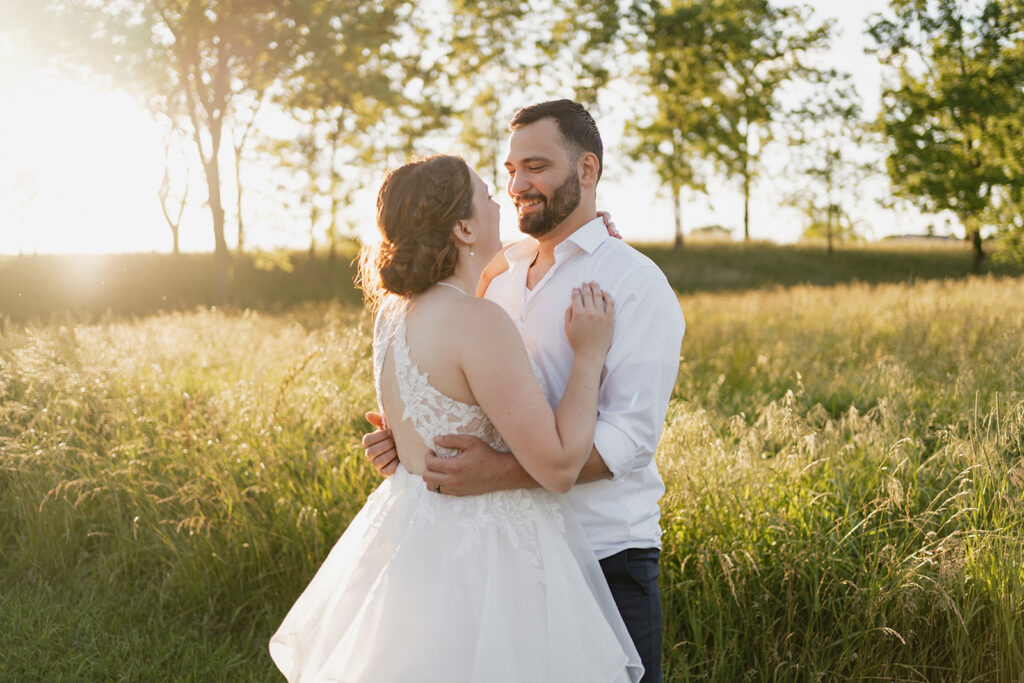
8. Sneak out for Sunset Portraits.
These always end up being my couple’s favorite photos of the day! It’s a sweet, intentional moment to take a break from people and let it soak in that you two are finally husband and wife! Plus, the light is the best of the best, making some incredibly romantic images!
So when is the best time to sneak out for sunset photos? That will depend on when sunset is on your wedding day! Sometimes your photographer will watch the light and let you know when that perfect moment is. If possible, great times for sneaking out are either 1) once dancing has already gotten started or 2) right after you cut the cake (there’s usually a few minutes here when everyone’s getting up to grab dessert that no one will know you’re gone!)
9. Plan the Party Events!
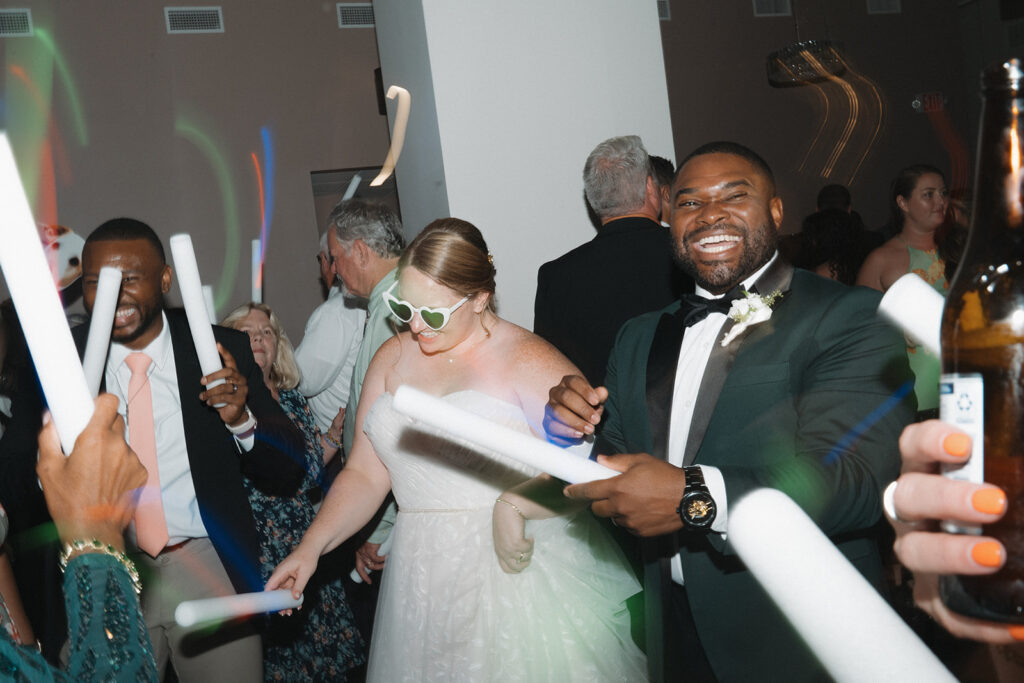
Planning to party the night away? You might want to plan some late night activities to keep the party going! Some of these most common late night events might include: A dress change (Plan to change dresses AFTER your golden hour portraits!), a champagne tower, shoe game, bouquet/garter toss, another round of food/dessert bar, big group dances, etc.
I’d recommend letting your DJ take the lead on when to create these moments. That way they can fall at moments when the party needs a break or needs a momentum boost. Just make sure that you make your photographer aware of any moments you want to make sure they get before leaving for the night.
Mostttt of the time, unless you have a lot of these events planned, you really only need to have your photographer stick around for the first half hour or so of the dance party. After that, generally the same people stay on the dance floor, and it starts thinning out or the party gets more sweaty and tipsy haha!
10. Decide on your exit plan!
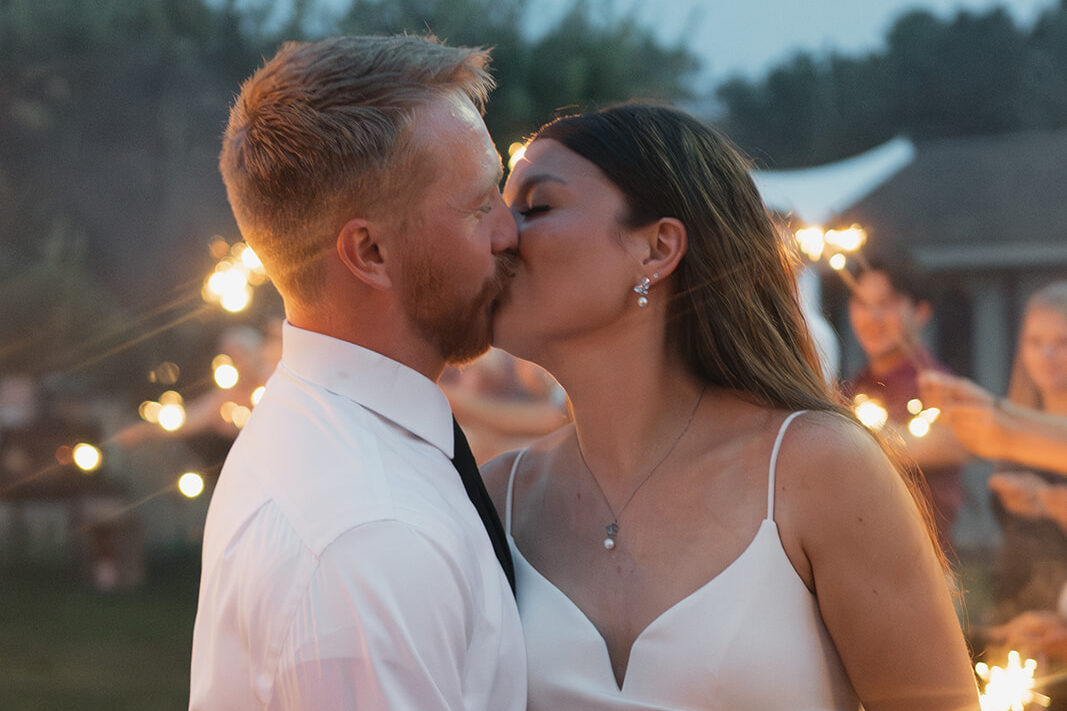
Will you be doing a grand exit? This can be a great way to end the night and get celebrated on your way out! Plus, you won’t feel obligated to help clean up 😉 If your heart is set on an exit, here are some tips!
- 1. You’ll want to plan your exit when you think a good portion of your guests will still be around! That way, you’ll have a full group of people for sparklers, confetti, or bubbles. A sparse group is not the vibe haha.
- 2. Assign a few members of your bridal party to be in charge of setting up for your exit, like pulling your car around and getting all the supplies ready.
- 3. If you like exit photos but don’t want to end the night so early, you can plan a fake send off! Your DJ can announce that you’re doing a send off moment but that the party will continue on afterwards. I’ve seen this become a cool moment where we get the photos you want (without having to extend your photographer’s coverage) and you get a chance to give each of your guests a hug on their way back into the venue—like a late night receiving line!
- 4. If you’re considering a fake exit, but don’t want to give your guests an excuse to leave early, you could plan a fake exit with just your bridal party / family. We can dance in a circle of sparklers and still have that beautiful bookend at the end of your wedding photos 🙂
Ok, how are you feeling?
I hope this felt like an approachable method for creating your wedding photography timeline. Again, your photographer will be the expert when it comes to this, but I know how helpful it can be to have an ongoing timeline to work off of while you plan!
The final example timeline we put together here would end up being about 10 hours of photo/video coverage. If you’ve planned for 8 hours of coverage, the difference will be the amount of getting ready/pre-ceremony moments you’ll be able to include. Your photographer may also shorten up how long they take on details and portraits to cut down on time.
To recap, here’s the timeline we created together:
- 9:45 – Photo / Video Teams Arrive
- 10:00 – Photo / Video Official Start Time: Detail Photos
- 10:45 – Groomsmen “Game Day” walk in photos
- 11:00 – Girls hanging out, finishing touches (second shooter gets photos of guys hanging out)
- 11:30 – Bride/Bridesmaids in Robes/PJs
- 12:00 – Mother helps Bride into Dress
- 12:15 – Bride & Bridesmaid First Look
- 12:30 – Bride & Father First Look
- 12:45 – Mother of the Groom pins boutonniere
- 1:00 – Bride & Groom First Look
- 1:15 – Bride & Groom Portraits
- 2:00 – Bridesmaids / Bride Portraits
- 2:30 – Groomsmen / Groom Portraits
- 3:00 – Full Bridal Party
- 3:30 – Family Photos
- 4:00 – Bride/Bridesmaids Hide Away (Photographer sets up for ceremony, takes candids of guests arriving)
- 4:30 – Ceremony Start Time
- 5:00 – Ceremony Ends
- 5:15 – “Just Married” romantic photos in full bridal attire
- 5:35 – Have a bridesmaid or bride’s mother help with bustling the dress and removing the veil if needed
- 5:45 – Bride and Groom join Cocktail Hour
- 6:00 – Line up for grand entrance
- 6:15 – Bride & Groom First Dance
- 6:30 – Dinner is Served
- 7:00 – Speeches
- 7:15 – Cake Cutting
- 7:30 – Special Dances (Father-Daughter, Mother-Son, Anniversary Dance)
- 7:40 – PARTAYYY
- 8:00 – Photo / Video Team Coverage Ends
Still looking for a photographer who can help you through all of these decisions and help you feel AMAZING about the flow of your wedding day? I’d be honored to work with you! Click here to get in touch!
